Preference test
You can use Preely for preference testing. We can conduct the preference test remotely and unmoderated.
Template: Preference test
Explore our collection of templates. Choose the template, personalize it according to your preferences, and create a unique version.
Step-by-step guide to setting up a preference test in Preely
The only things you need to prepare are:
- A question
- The design options or the copies
- Follow-up questions
The question
Asking the right question is important. The participants do not have the knowledge to answer which design is the best. Instead, we suggest asking a question like:
- Which design is most trustworthy?
- Which do you find easier to read?
- Which design looks the most modern?
If you want a broader question, go with ‘Which design do you prefer?’. This makes the participant reflect on their own preference and not judge which design is better.
The design options or the copies
There should be a big enough difference between the different options, so the participants do not struggle to see the difference. The participants are presented with your design options one by one and can browse back and forth between them before choosing. Your preference test design options do not need to be the same shape or size. You can set up ten different options, but be aware that it can be hard for the participant to remember the design or copy from each other with so many.
The follow-up questions
The follow-up questions give you insights is why the panelist has chosen one option rather than another. Here you have the opportunity of having qualitative data. You can choose a follow-up question directly in the preference test setup, and you can also add any of the questions we provide. It’s always a good idea to at least add an open-ended question asking why they choose that specific option.
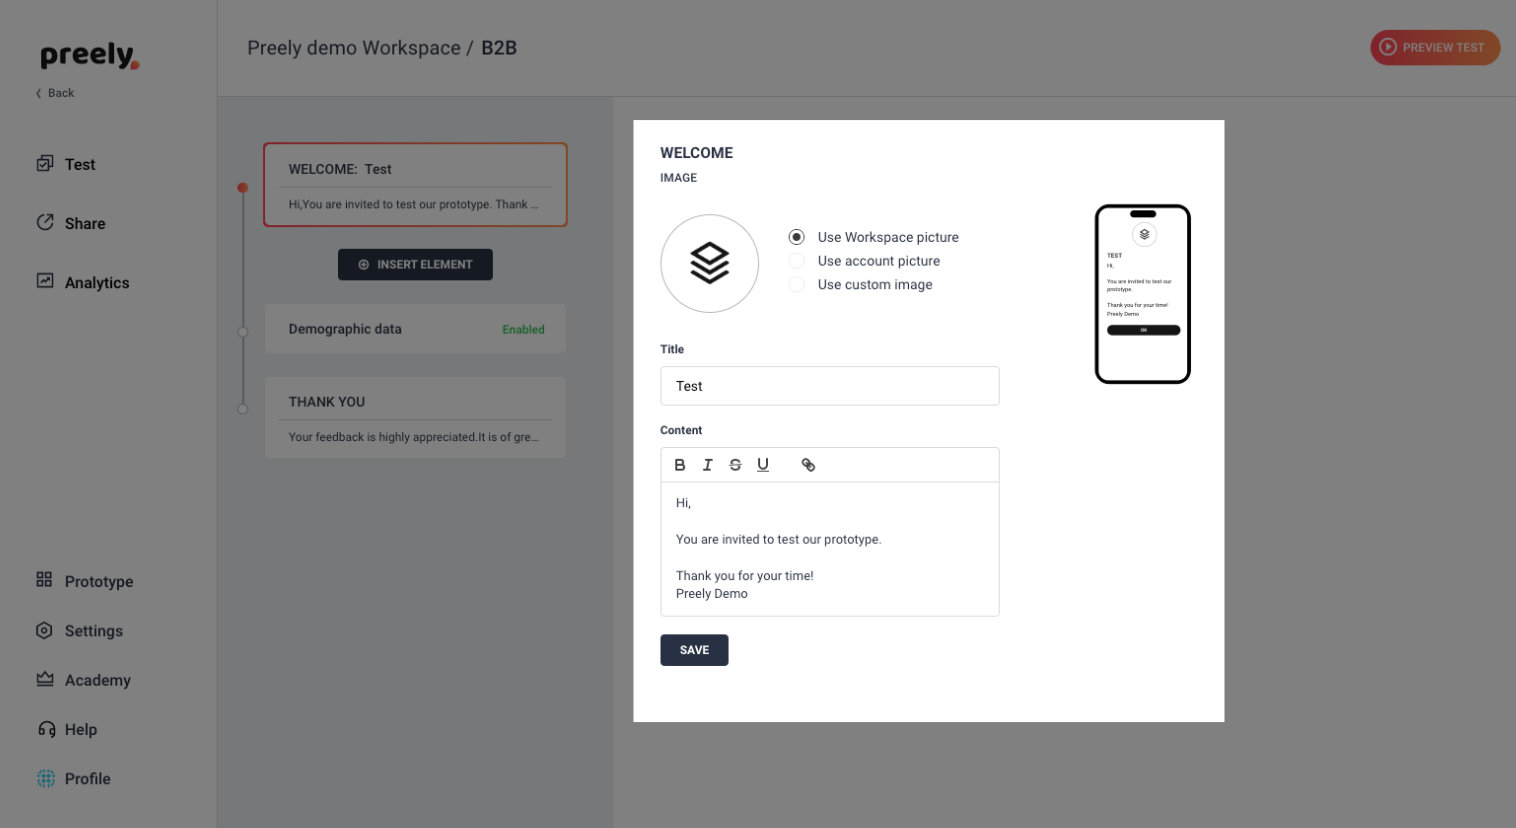
1. Welcome your participants
In this one, you ask your participants to click on the design they prefer.
We have written a short welcome to your participants. If you want to change it, just write your own personal welcome.
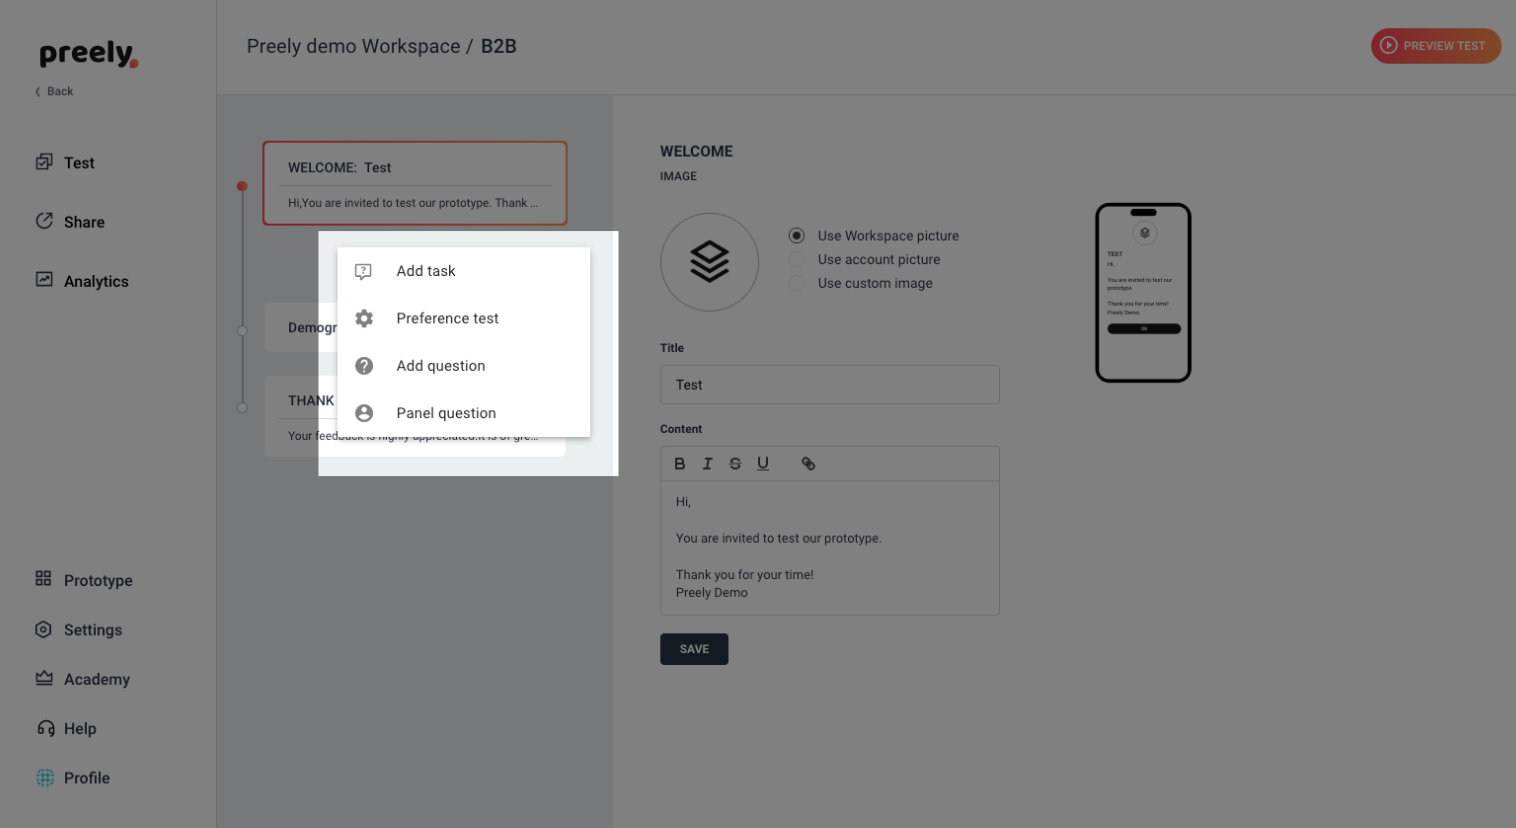
2. Add preference test
This is where you truly set up your test. Click ‘Insert element’ and choose preference test
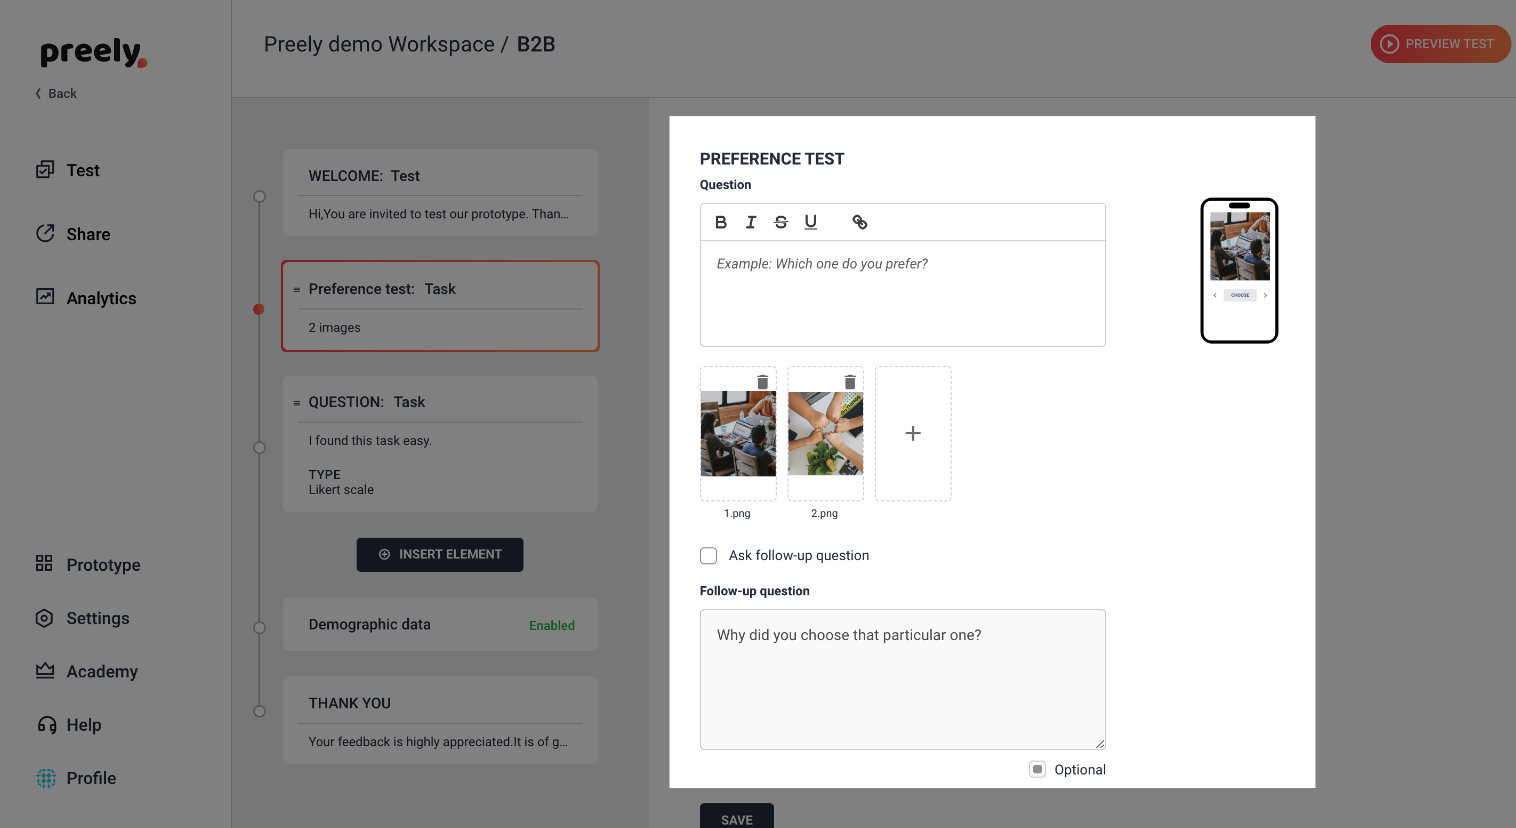
3. Question and pictures
Write your question and add pictures.
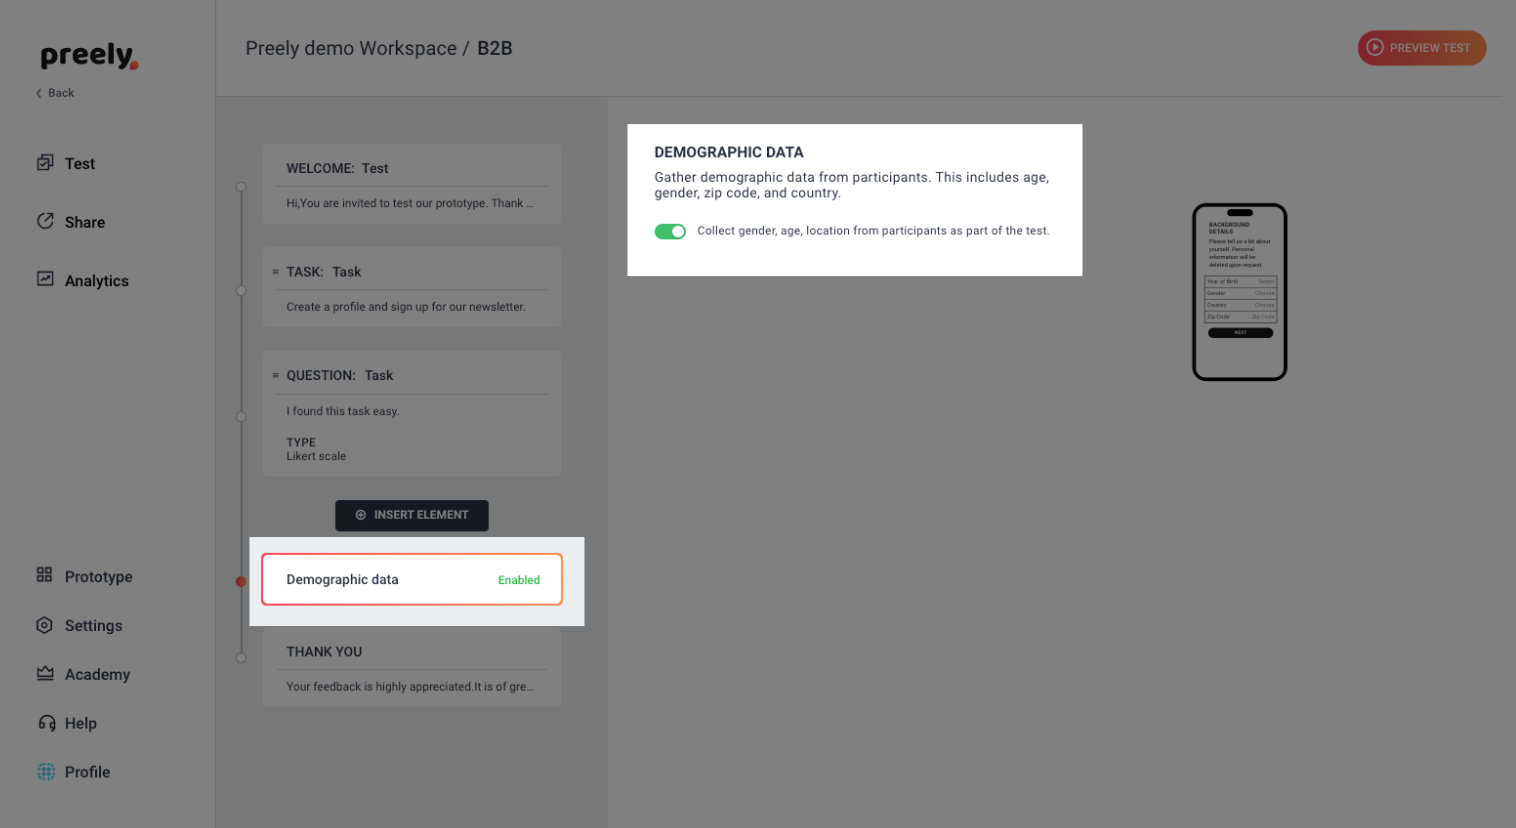
4. Demographic data
Here you can toggle between asking for demographic data or not. Demographic data includes: Gender, age, zip code and country.
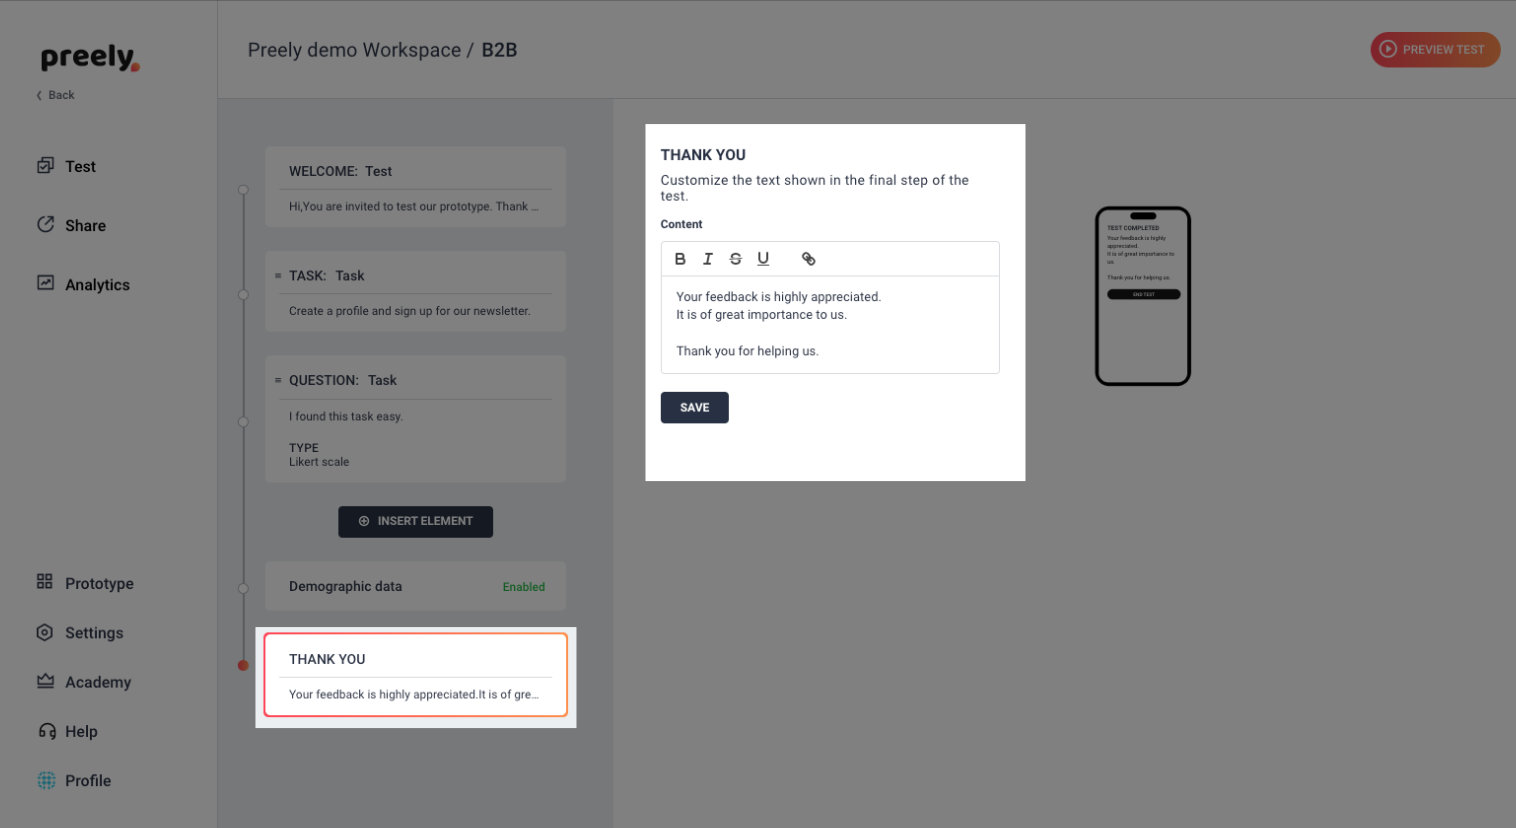
5. Test completed
Then you’re at the end and you want to thank your participants for participating. We have written a short thank you note. If you want to change it, just write your own personal thank you.

… and then you are good to go!